
Affiliate disclosure As an Amazon Associate we earn from qualifying purchases, at no extra cost to you.
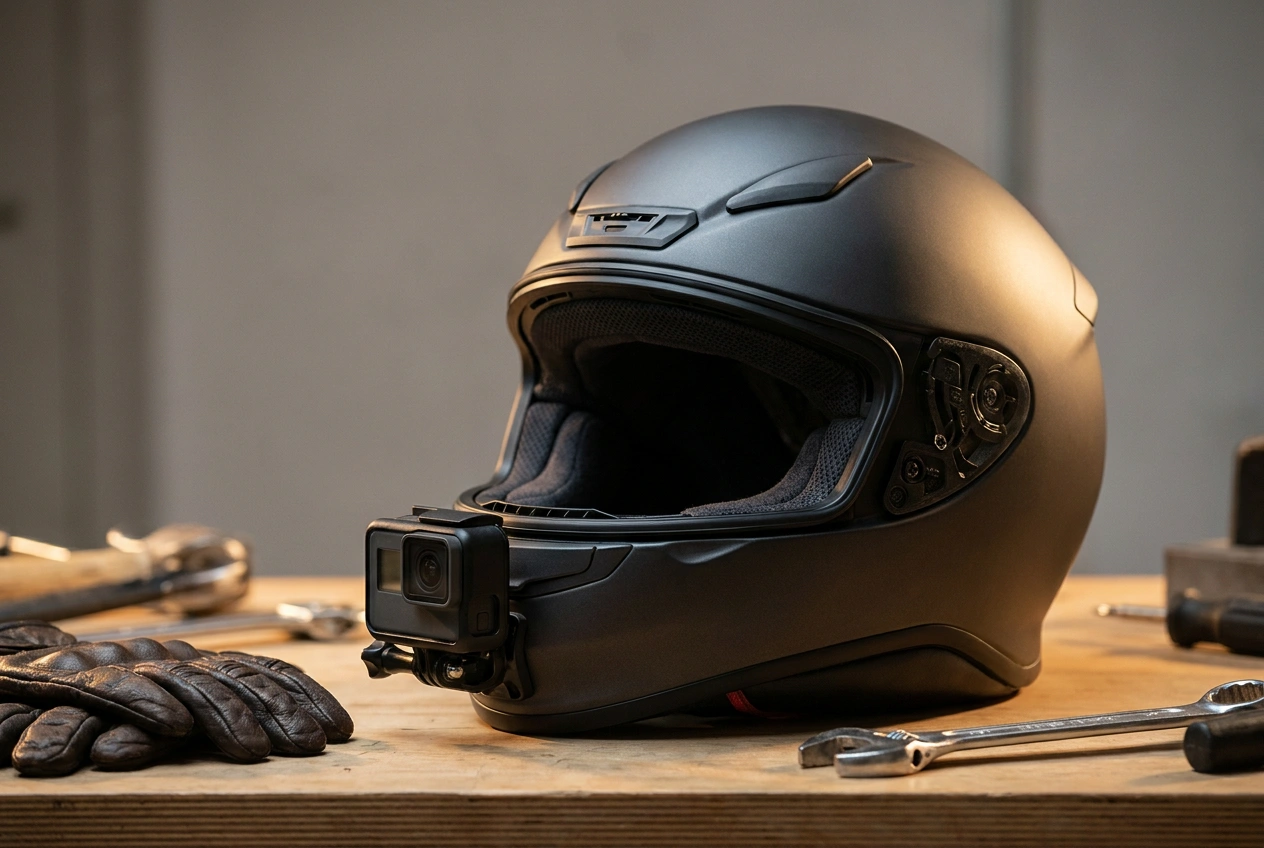
To install a chin mount, pick the spot on the chin bar, clean it with isopropyl alcohol, press on a curved or flat adhesive mount (or clamp a strap mount), then let the adhesive cure 24 to 48 hours before attaching the camera. Aim the lens slightly down for a natural POV.
A chin mount puts the camera right where your eyeline sits, so the footage looks like the rider is actually seeing it. Riders fit these to full-face lids constantly, and the work itself is simple. What trips people up is surface prep and cure time, which is exactly where most mounts fail.
Below we walk through the full process: choosing between an adhesive and a strap mount, prepping the chin bar, positioning for the shot, and the safety and balance points that matter before you ride with it.
Adhesive mount vs strap mount: which to use
There are two ways to attach a camera to a chin bar, and the right one depends on whether you want a permanent fit or something you can move between helmets.
An adhesive mount uses a 3M VHB pad bonded straight to the shell. It sits low and tight, adds almost no bulk, and gives the cleanest footage. The trade-off is commitment: once it cures it is meant to stay, and removing it can pull at the clearcoat.
A strap mount wraps under the chin bar and tightens with a buckle or screw clamp. It moves between helmets in seconds and leaves no residue, which makes it the choice for rentals, track days, or a borrowed lid. It does sit slightly proud of the shell and can creep loose over a long session if you do not check it.
Adhesive mounts also come in two base shapes. Match the base to your chin bar so the whole pad makes contact.
- Curved base for the rounded chin bars on most sport and street full-face helmets
- Flat base for the flatter chin guards on some adventure and dirt lids
- Strap mount when you want zero adhesive and full portability
Which Chin Mount and Camera Should You Buy?
Both mount styles above are inexpensive, which is part of why a chin mount is one of the cheaper upgrades covered on this site. Where the budget actually goes is the camera sitting on top of it.
| What you want | Pick | What it is |
|---|---|---|
| Widest camera compatibility (GoPro, DJI, Insta360) | Lupholue Chin Strap Mount | Strap mount with a J-hook base, listed compatible with GoPro Hero 13 through 6, DJI Osmo Action 5 Pro/4/3/2, and Insta360 ONE R |
| Softer contact on the chin bar, wider strap adjustment | TELESIN Chin Strap Mount | Non-slip silicone Y-shape base with 180-degree adjustment and an extension J-hook |
| A camera for either mount without GoPro pricing | AKASO EK7000 Pro | 4K/30fps action camera with electronic image stabilization and a touch screen |
Both chin mounts here strap on rather than bond on, which sidesteps the adhesive cure-time wait covered below entirely and lets the same mount travel between helmets. Their own listings note they do not fit helmets with a long or extended chin guard (some adventure and full-face MX helmets); if that describes your lid, an adhesive pad matched to your chin bar shape, following the surface-prep steps below, is the better route.
Compatibility and material notes above come from the mounts' own listings, not a bench test on our end; we cross-checked the chin-guard exclusion against owner photos before recommending either one.
Clean the surface before anything sticks
Adhesive bonds to a clean surface, not to grime, wax, or finger oil. Skipping this step is the single most common reason a mount lets go mid-ride. We never bond a pad without prepping first.
- Wipe the chin bar with isopropyl alcohol, 70 percent or higher
- Let it flash off and dry fully, about a minute
- Do not use household glass cleaner, since it can leave a film that weakens the bond
- Work in a warm room, as cold shells take adhesive poorly
Fit the mount and let it cure
With the spot marked and the surface clean, the bond itself takes seconds. The wait is the part that matters.
- Peel the adhesive backing and press the mount onto the marked spot
- Hold firm pressure for 30 to 60 seconds to start the bond
- Leave the helmet alone for 24 to 48 hours before hanging any weight on the mount
- For a strap mount, snug the clamp until the base does not rock, then re-check after the first short ride
That 24 to 48 hour window is the adhesive reaching full strength. Attach the camera too early and the pad can shift or peel under the first bump. We treat the cure time as non-negotiable.
Position the mount for a natural POV
Chin placement is what gives that immersive, rider-eye look, but the angle is easy to get wrong. A mount aimed dead level often points at the sky once you tuck into a riding position.
- Center the mount on the chin bar so the shot is not skewed left or right
- Angle the lens slightly downward to counter your head tilt when riding
- Check that the visor edge and your own chin do not creep into frame
- Do a short test clip in your normal riding posture before committing the spot
Chin mount vs top mount trade-offs
Chin is not automatically better than the top of the helmet. Each spot has a clear use case.
A chin mount sits at eye level and reads as true first-person footage. It keeps the silhouette low and stays out of wind buffeting on the crown. The downsides are that your bike or handlebars fill more of the frame, and the camera sits in a more exposed spot in a slide.
A top mount gives a higher, wider view that takes in more of the road and scenery, and it keeps the camera clear of debris kicked up at the chin. It also raises the helmet's profile and can catch more wind at speed.
Safety, legality, and balance
Before you ride with any mount, two things need a check: whether it is allowed and whether it throws off the helmet.
Legality and track rules. Some race tracks and circuits ban hard external mounts entirely, since a protruding camera can snag or load the helmet in a crash. Many require a tear-away or breakaway adhesive mount rather than a rigid bracket. Always confirm the rules for your venue before scrutineering, and check local road law, which varies by region.
Balance and weight. A camera on the chin bar adds leverage at the front of the helmet. On a long ride that extra mass can pull on the neck and tire you out, and in a crash a rigid mount can transmit load to the helmet shell.
- Keep the camera as light as the shot allows, since chin weight is felt more than top weight
- Prefer a breakaway or adhesive mount over a rigid bracket so it can shear off in an impact
- Route any cables so they cannot snag on the bike or your gear
- Confirm your track or event allows the mount before you ride
Chin mount setup at a glance
| Step | What to do | Why it matters |
|---|---|---|
| Choose mount | Curved or flat adhesive base, or a strap mount | Match the base to the chin bar shape for full contact |
| Clean | Wipe with 70 percent isopropyl alcohol, let dry | Grime and oil are the top cause of a mount letting go |
| Bond | Press firmly for 30 to 60 seconds | Starts the VHB adhesive grabbing the shell |
| Cure | Wait 24 to 48 hours before loading | Adhesive reaches full strength only after curing |
| Aim | Center and angle the lens slightly down | Corrects for head tilt and gives a natural POV |
| Check rules | Confirm track and local road law | Some tracks ban hard or rigid external mounts |
DOT vs ECE vs Snell vs MIPS, how to pick the right lid in 60 seconds, and when to replace it. One page, no fluff.
Frequently Asked Questions
How long does a chin mount need to cure before I use it?
Give the adhesive 24 to 48 hours before you attach the camera or ride. The VHB pad grabs on first contact but only reaches full strength after curing, so loading it early risks the mount shifting or peeling.
Can I move an adhesive chin mount to another helmet?
Not easily. Adhesive mounts are meant to stay put, and removing one can pull at the clearcoat and leaves residue. If you swap between helmets often, a strap mount that clamps under the chin bar is the better choice.
Will a chin mount damage my helmet?
A properly applied adhesive mount does not harm the shell while it is on, but removing it later can lift the clearcoat. A strap mount leaves no marks at all. Either way, never drill into a helmet shell, as that compromises its protection.
Are chin mounts allowed on track days?
It depends on the venue. Some tracks ban rigid external mounts and require a breakaway or adhesive mount that can shear off in a crash. Always confirm the rules with the organizer before scrutineering.
Should I clean the chin bar with anything special?
Isopropyl alcohol at 70 percent or higher is what we use. It strips oil and grime without leaving a film. Avoid household glass cleaners, which can leave a residue that weakens the adhesive bond.
