
Affiliate disclosure As an Amazon Associate we earn from qualifying purchases, at no extra cost to you.
A correctly worn bike helmet sits level, two fingers above your eyebrows, with the chin straps forming a V just below each ear, and the buckle tight enough to allow only one finger between strap and chin. That is the 2V1 rule, and it is the single most effective thing you can do to make a certified helmet actually protect you.
A helmet on the shelf has a safety rating. A helmet on your head, worn wrong, has almost none. Studies on cyclist head injuries consistently find that poor fit, not poor certification, is the main reason helmets fail in real crashes. The shell skips off the skull or rides back on impact instead of absorbing force where it is needed.
In this guide the Research Desk walks you through every step of correct bicycle helmet positioning: the 2V1 rule, how to dial in pad sizing, the most common mistakes we see at our local club rides, and what changes (slightly) for children. We also flag where MIPS fits into the picture.
Start with Level: Helmet Flat, Not Tilted
Before you touch a single strap, get the shell position right. Hold the helmet with both hands, place it on your head, and look in a mirror. The front edge should run parallel to the ground, roughly two fingers above your eyebrows. The back of the shell should sit no more than an inch above the base of your skull.
Two common position errors kill protection instantly:
- Pushed back ("cowboy tilt"): exposes the forehead entirely. In a forward fall this is the exact zone that hits first.
- Pulled down over the face: blocks sightlines and causes most riders to shove it back anyway mid-ride.
If the helmet will not sit level without sliding, the pads are wrong (see the Pad and Dial section below) or the shell size is wrong for your head shape.
The Two-Finger Eye Gap
Once the shell is level, place two fingers horizontally between your eyebrows and the front edge of the helmet. There should be just enough room for those two fingers, no more. This gap ensures the helmet covers the frontal lobe but does not obstruct your upward sightline at junctions and intersections.
If you cannot fit two fingers, the helmet is sitting too low. If you can fit three or more fingers, the shell is too far back. Adjust by tilting the whole shell forward or backward at the retention dial, then recheck the rear fit.
Form a V Under Each Ear
The side straps split below each ear into two webbing runs that meet at the buckle under your chin. When those two runs come together, they should form a V shape with the junction sitting just below the earlobe, not behind the ear or across the cheekbone.
Why it matters: if the V rides forward onto your cheek, a rear impact will torque the shell backward. If it sits behind the ear, the helmet will pivot on impact. The V anchors the shell in place against rotational forces.
To set the V, slide the webbing adjuster up or down each side until both Vs sit directly below the earlobes. Take your time here, it is the most fiddly step and the one most riders skip.
The One-Finger Chin Strap Rule
Buckle the chin strap and try to fit your fingers under it. You should be able to insert exactly one finger. Two or more fingers means the strap is loose; if it will not accept even one finger, it is too tight.
Open your mouth wide while the strap is buckled. You should feel the helmet press down on your head. If it does not, the strap is still too loose. This is the definitive test used by helmet-safety educators.
Once the strap is set, you should not be able to pull the helmet forward past your eyebrows or roll it backward off your head without the strap cutting uncomfortably into your chin. If you can do either, re-run all four steps above.
Pad and Dial Sizing: The Overlooked Step
Most adult bike helmets ship with several interchangeable foam pad sets in different thicknesses, plus a rear retention dial (sometimes called a "fit dial" or "roc-loc" depending on brand). These two systems work together and must be set before you adjust the straps.
Retention dial
Turn the dial clockwise to tighten. The cradle should grip the back and sides of your head firmly but without pressure points. If you feel hot spots on the back of your skull after 20 minutes, loosen by a quarter-turn at a time.
Pad swaps
If the helmet wobbles front-to-back even at max dial tension, the foam pads may be too thin for your head circumference. Swap in the thicker set from the bag that came with your helmet. Conversely, if the dial bottoms out before the shell sits level, try the thinner pads. Most major brands (Giro, Bell, Smith) include at least two pad thicknesses in the box.
- Dial tightened until snug, no hot spots after 10 minutes
- Shell does not rock front-to-back when you shake your head
- Helmet sits level at two fingers above brows with dial fully tensioned
- Side-to-side wobble less than half an inch
Five Common Mistakes (and the Quick Fix)
| Mistake | What You See | Fix |
|---|---|---|
| Cowboy tilt | Front rim above eyebrows, nape exposed | Tilt shell forward, re-check two-finger gap |
| Loose chin strap | More than one finger under buckle, helmet rolls back | Tighten buckle, confirm open-mouth press test |
| V sits on cheekbone | Strap chafes during climbs | Slide webbing adjuster down so V is below earlobe |
| Wrong pad thickness | Dial maxed out, shell still rocks | Swap to thicker foam pad set |
| Cracked or expired shell | Crazing or foam compression visible | Replace regardless of how the fit feels |
Fitting a Bike Helmet for Kids: What Changes
The 2V1 rule is identical for children, but two things change in practice.
Head shape changes fast. A child who wore a size-small last summer may need a size-medium this spring. Measure head circumference with a soft tape at the start of every season, and check the two-finger gap and chin-strap test before every ride for the first week in a new helmet.
Distraction resistance. Kids tilt helmets back because they want to see better. Build the forward-tilt check into the pre-ride routine alongside checking tyre pressure. If a child consistently pushes a helmet back, the foam pads are probably too thin and the helmet is sliding on the dial - try a thicker pad set first before sizing up.
For a full walkthrough of kids' helmet sizing, including how to measure correctly for toddlers, see our dedicated guide: How to Fit a Bike Helmet for a Child.
Does MIPS Change How You Fit a Helmet?
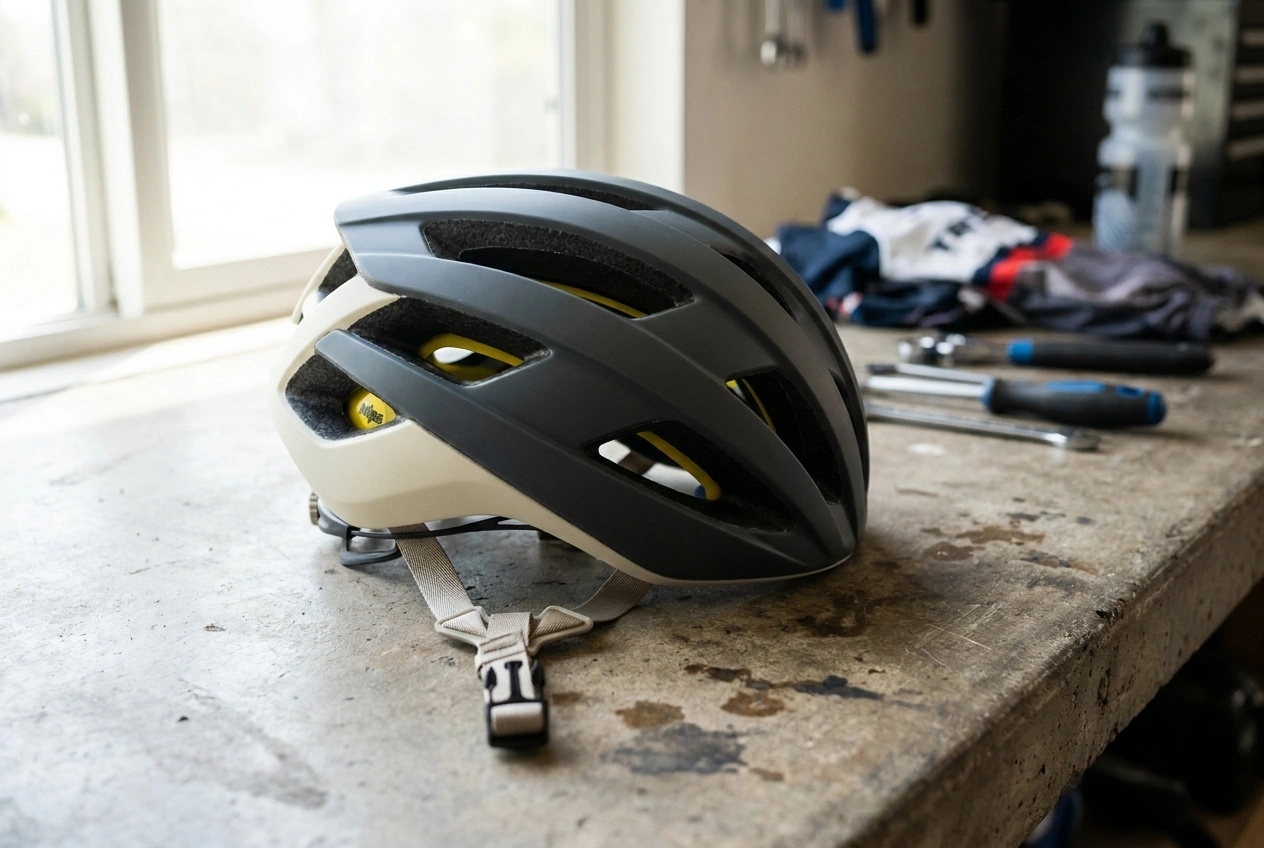
No. The 2V1 rule and all the steps above apply exactly the same to MIPS-equipped helmets. The MIPS liner (the thin yellow plastic slip plane inside the shell) is there to handle oblique rotational forces in a crash; it does not affect daily fit, strap adjustment, or pad sizing.
What MIPS does change is what happens if you crash with a correctly fitted helmet: the slip plane absorbs rotational energy that a standard EPS liner cannot. That is why we recommend MIPS for any cyclist who rides more than casually. The benefit is zero if the helmet is not correctly fitted first.
For a deeper explanation of how the technology works and how different brands implement it, see our explainer: What Is MIPS in a Bike Helmet?
DOT vs ECE vs Snell vs MIPS, how to pick the right lid in 60 seconds, and when to replace it. One page, no fluff.
Frequently Asked Questions
How tight should a bike helmet be?
Tight enough that you cannot rock it more than about half an inch in any direction, and that the chin strap allows only one finger to fit between strap and chin. A properly set retention dial and correct pad thickness do most of the work; the straps fine-tune side-to-side and fore-aft stability.
How far above the eyebrows should a bike helmet sit?
Exactly two fingers (roughly 1 to 1.5 inches) above your eyebrows. This is the first check of the 2V1 rule and determines whether the frontal lobe is protected in a forward impact.
Should bike helmet straps be tight?
The chin strap should allow exactly one finger under the buckle. The side straps should form a V just below each earlobe with no slack. Straps that are too loose let the shell pivot on impact; straps that are too tight are uncomfortable enough that riders loosen them over time.
How do I know if my bike helmet fits correctly?
Run the 2V1 test: two fingers above brows (level shell), V straps below each ear, one finger under chin. Then open your mouth wide; you should feel the helmet press down. Finally, try to rock the shell forward off your head without the strap biting into your chin; if it rolls, the fit is not right.
Does a bike helmet need to sit flat on your head?
Yes. The shell should be parallel to the ground, not tilted back. A tilted-back helmet leaves the forehead unprotected, which is the most common impact zone in forward falls. If the helmet will not sit flat, the pad thickness or the retention dial needs adjustment.
