
Affiliate disclosure As an Amazon Associate we earn from qualifying purchases, at no extra cost to you.
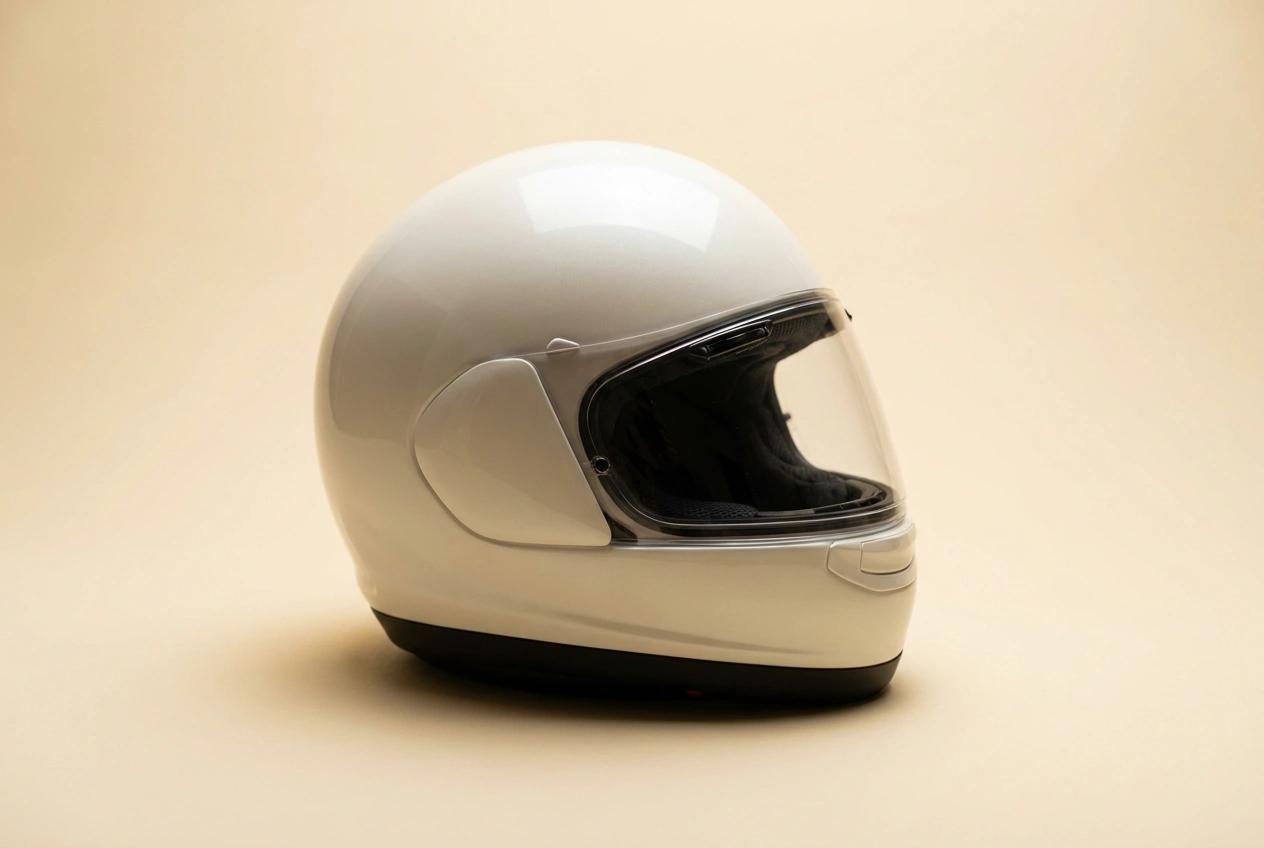
Clean a motorcycle helmet by removing the liner and cheek pads (if removable) and hand-washing them in lukewarm water with mild baby shampoo, then air-drying fully. Wipe the shell with a damp microfibre cloth and mild soapy water. Clean the visor with lukewarm water and a soft cloth. Never use petroleum solvents, alcohol, ammonia or abrasives on any part.
A grimy helmet is not just unpleasant. A sweat-soaked liner breaks down faster than a clean one, and a hazy visor is a safety issue as much as an aesthetic one. Regular cleaning extends the usable life of your helmet and keeps the fit where the manufacturer engineered it. Our research desk pulled together what helmet manufacturers and materials scientists actually recommend, and cut through the conflicting advice that fills forum threads.
The two things most people get wrong: using the wrong product on the shell or visor (which silently destroys coatings), and skipping the air-dry step (heat is the liner's enemy). Here is the full process, inside and out, done correctly.
Step 1: Remove and hand-wash the liner and cheek pads
Most modern full-face and modular helmets have a fully removable interior: cheek pads and a crown liner that pull out via snap fasteners or Velcro tabs. Check your owner's manual to confirm yours are removable. If they are, this is the most effective way to clean the inside of the helmet.
- Remove the cheek pads and crown liner according to your model's instructions. Most press-and-pull at the snap points; some models have a small loop or tab near the ear pockets.
- Hand-wash in lukewarm water with a small amount of mild baby shampoo or a gentle, fragrance-free liquid soap. Do not use laundry detergent, fabric softener, or any product with bleach or alcohol.
- Squeeze gently. Do not wring or twist the pads, which can distort the foam core inside.
- Rinse thoroughly under running lukewarm water until no soap residue remains. Soap left in the foam will irritate skin on the next ride.
- Press out excess water by sandwiching each pad between two clean towels. Do not spin in a washing machine or tumble dry.
- Air-dry at room temperature, away from direct sun, radiators, hair dryers or any heat source. Heat degrades the EPS liner and the foam in the pads. Allow 24 hours minimum before reinstalling.
Step 2: Cleaning a non-removable liner
Older helmets and many budget models have a stitched-in liner that cannot be pulled out. The process is more limited but still effective for regular maintenance.
- Mix a small amount of mild baby shampoo into a bowl of warm water.
- Dampen a clean microfibre cloth in the solution. Wring it out so it is damp, not soaking. You want to clean the surface without saturating the foam underneath.
- Work the cloth gently across the liner surface, paying attention to the forehead strip and the area around the ear pockets where sweat concentrates.
- Rinse with a second cloth dampened in plain water to lift any soap residue.
- Blot with a dry towel to absorb surface moisture, then allow to air-dry completely before storing or riding. Leaving damp foam inside a closed helmet promotes mildew and accelerates foam breakdown.
For odor that cleaning alone does not fix, a helmet-safe deodorizing spray applied after the liner is dry is the cleanest solution. Avoid sprays containing alcohol, which attack foam bonds over time.
Step 3: Clean the outer shell
The outer shell, whether polycarbonate, fiberglass composite or carbon, has a painted finish and, on most helmets, a UV-protective clear coat. The wrong cleaning product strips that clear coat quietly and permanently.
- Rinse loose debris first with lukewarm water. Never use a pressure washer on a helmet; the force can work into the vent mechanisms and gaskets.
- Wipe with a damp microfibre cloth and a drop of mild dish soap diluted in water. Microfibre will not scratch the finish; paper towels and rough cloths will.
- For stubborn bug splatter: lay a wet microfibre cloth over the affected area for two to three minutes to soften the material, then wipe away. Scraping or rubbing dry insect residue scratches the clear coat.
- Wipe vent slots and trim edges with the damp cloth, using a soft-bristled toothbrush for hard-to-reach areas inside vent openings.
- Rinse with plain water and dry with a clean, dry microfibre cloth. Pat rather than rub.
Step 4: Clean the visor
The visor takes more punishment than any other surface: bugs, road grime, rain and constant handling. It also has the most delicate coatings. Most visors carry an anti-scratch coating, an anti-fog coating on the inside, and sometimes a UV filter. All of these are stripped by the wrong cleaning approach.
- Remove the visor from the helmet if your model allows it. Cleaning it separately reduces the risk of getting cleaning product onto the shell or seals.
- Rinse with lukewarm water to remove loose grit before touching it. Dragging grit across a dry visor with a cloth is how scratches happen.
- Apply a small amount of mild liquid soap with your fingertips and work it gently across both surfaces.
- Rinse thoroughly and pat dry with a clean, lint-free microfibre cloth. Never rub in circular motions; use straight strokes.
- Do not clean the anti-fog inner surface with any cloth if it still has an anti-fog coating. Rinse only. Most anti-fog coatings are a hydrophilic layer that cloth contact wears through. If the inner face has a removable Pinlock insert, follow Pinlock's own cleaning instructions.
Step 5: Clean the vents
Clogged vents reduce airflow significantly and are one of the most ignored parts of helmet maintenance. Road grit, insects and general road debris accumulate in vent slots and across the internal channeling.
- Use a soft-bristled brush (a clean, dry toothbrush works well) to sweep debris out of the external vent slots. Work from the back of the slot outward to avoid pushing debris deeper in.
- Compressed air at low pressure (the type sold for electronics cleaning) clears internal channeling effectively. Hold the can upright and use short bursts.
- Do not probe internal vent channels with toothpicks or wire. The internal baffles and vent levers are easy to break and expensive to replace on most helmets.
- Wipe vent covers with the same damp microfibre cloth used on the shell, making sure they close fully after cleaning.
Step 6: Deodorize safely
Even a well-cleaned liner develops odor over time. Sweat contains proteins and oils that accumulate even after washing, and a dedicated helmet deodorizer is the targeted solution.
- Use a helmet-specific deodorizing spray after the liner is fully dry. Products designed for sporting equipment use enzyme or antimicrobial formulas that break down odor compounds without attacking foam or fabric. The Bike Brite MC19000 is a straightforward example, formulated specifically for helmet liners rather than general sporting gear.
- Avoid fabric fresheners (Febreze and similar). They mask odor rather than treating it, and some contain alcohol or propellants that degrade foam.
- Do not spray inside a freshly washed helmet that is still damp. Apply only once the liner is completely dry.
- For persistent odor in a non-removable liner, fill a clean sock with baking soda, place it inside the helmet overnight, and remove before riding. It absorbs residual moisture and odor without contacting the foam directly.
What actually belongs in a helmet-safe cleaning kit
Everything above works with three products, and the reason we keep pointing at the same short list is that each one is formulated to avoid the exact things that wreck a helmet: alcohol, ammonia, and the solvents that attack EPS foam and hard coatings. A splash of glass cleaner from under the sink, or brake cleaner and petrol from the garage shelf, will clean a visor once and haze it permanently the second time.
- Liner and cheek pads: a helmet-specific enzyme deodorizer, not a fabric freshener. The Bike Brite MC19000 sprays directly onto foam and is formulated to clean and deodorize without the alcohol content that breaks down foam bonds over time.
- Visor and shell trim: a plastic-safe cleaner in place of household glass cleaner. Invisible Glass 92084 is formulated for acrylic and vinyl surfaces, including helmet visors specifically, with no abrasives and no ammonia.
- Application and drying: a dedicated microfibre kept separate from anything used on paint or chrome, so grit does not transfer onto the visor. The Muc-Off microfibre detailing cloth is sized for helmets and visors instead of a full-size car cloth that is awkward to work into vents and ear pockets.
None of these three have been lab-tested by us, only checked against their own ingredient claims and against the "never use" list every helmet manufacturer publishes: petrol, brake cleaner, and household degreaser all attack EPS foam and hard coatings, which is exactly why the picks above avoid solvents entirely.
How often should you clean your helmet?
Cleaning frequency depends on how much you ride and the conditions. As a working baseline from what manufacturers and helmet care guides recommend:
- Liner and cheek pads: every 4-6 weeks for regular riders (two to four times per week); after any long, sweaty ride in hot conditions; after every trackday.
- Shell and visor: after every ride if you have been on open roads at speed (bug season in particular), or at minimum weekly for commuters.
- Full deep-clean: two to four times per year for average use.
- Vents: once at the start of the riding season and once at the end.
A helmet with a well-maintained liner also keeps its fit better for longer. Compressed, degraded padding changes how the helmet sits on your head. If the helmet has started to feel loose, read our guide on when to replace a motorcycle helmet; a packed-down liner is one of the legitimate replacement triggers. If you carry a passenger helmet, see our guide on how to carry a passenger helmet safely to avoid the drops and heat exposure that accelerate liner wear.
Helmet cleaning: what to use and what to avoid by part
| Part | What to use | What to avoid |
|---|---|---|
| Removable liner and cheek pads | Lukewarm water + mild baby shampoo; hand-wash; air-dry only | Washing machine (spin cycle), tumble dryer, direct heat, laundry detergent, bleach, fabric softener |
| Non-removable liner | Damp microfibre + diluted mild soap; blot dry; air-dry | Soaking, heat drying, alcohol-based sprays, strong detergents |
| Outer shell | Microfibre cloth + diluted mild dish soap; wet microfibre soak for bugs | Petroleum products, WD-40, alcohol, ammonia, Windex, acetone, abrasive cloths, paper towels, pressure washer |
| Visor (outside surface) | Lukewarm water rinse first; mild soap with fingertips; microfibre pat-dry | Alcohol, ammonia, Windex, glass polish, paper towels, abrasive cloths, circular rubbing |
| Visor (inside anti-fog surface) | Rinse only (no cloth contact on original anti-fog coating) | Any cloth contact, alcohol, ammonia, compressed air directly on coating |
| Vents | Soft-bristled brush; low-pressure compressed air for electronics | Probing with wire or toothpicks, high-pressure water |
| Deodorizing | Helmet-specific enzyme deodorizer; baking soda in sock (liner only) | Febreze and fabric fresheners, any alcohol-based spray |
DOT vs ECE vs Snell vs MIPS, how to pick the right lid in 60 seconds, and when to replace it. One page, no fluff.
For the products themselves rather than the method, see our helmet cleaning kit picks and the chemistry that ruins a visor.
Frequently Asked Questions
Can I wash my motorcycle helmet in the washing machine?
Not recommended. Even on a delicate cycle, the spin cycle compresses and distorts the foam padding. Hand-washing the removable liner and cheek pads in lukewarm water with mild baby shampoo, then air-drying, is safer and takes only a few minutes more.
What household products are safe to clean a motorcycle helmet with?
Mild baby shampoo or diluted gentle dish soap and lukewarm water are the safest household options for the liner and shell. A clean microfibre cloth is the right applicator. Avoid anything with alcohol, ammonia, bleach or abrasives, including common glass cleaners, all-purpose sprays and paper towels.
How do I get rid of the smell inside my helmet?
Start by removing and hand-washing the liner and cheek pads if they are removable. After washing, apply a helmet-specific enzyme deodorizer once the liner is fully dry. For non-removable liners, place a clean sock filled with baking soda inside overnight. Persistent odor despite cleaning can indicate foam that has broken down and needs replacing.
Is Windex safe to clean a motorcycle helmet visor?
No. Windex and most glass cleaners contain ammonia, which attacks the anti-scratch and anti-fog coatings on plastic visors. The damage is permanent and will cause hazing and peeling over time. Use lukewarm water and a small amount of mild soap only, applied with fingertips, then pat dry with a lint-free microfibre cloth.
How often should I clean my motorcycle helmet?
Wipe the shell and visor after every ride in bug season or on open roads. Hand-wash the removable liner every four to six weeks if you ride regularly, or after any particularly sweaty ride. Do a full deep-clean, including vents, two to four times per year. A clean liner holds its shape longer and keeps the fit where the manufacturer designed it.
